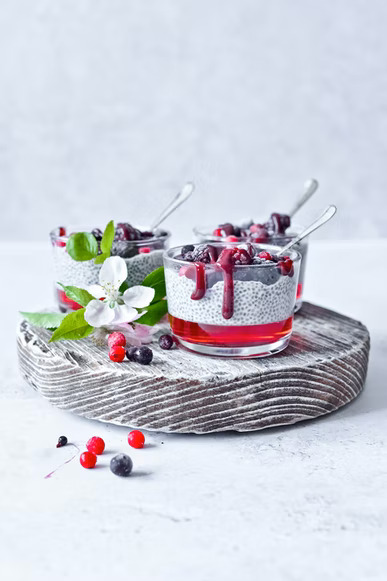
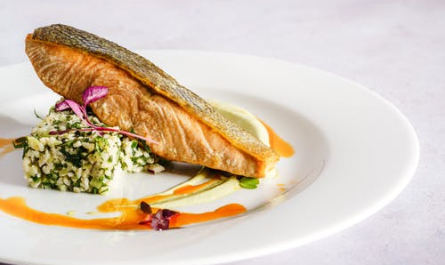
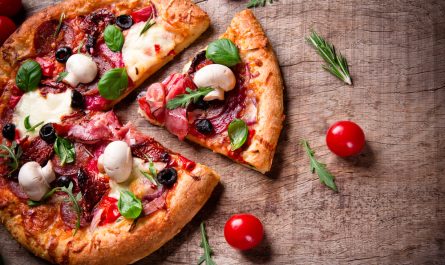
What is Food Styling?
Food photography styling commonly referred to as “food styling,” is the craft of preparing food or dishes for food photography by food photographers. There are specialists in food styling who are called food stylists.
Food photography or styling food may seem simple and easy to achieve, but food stylists need heavy food styling skills to style food properly. Achieving good food photography is a complex process. Styling food is an integral part of the process, as food photos are clicked by food photographers, food stylists, or food bloggers for many advertisement purposes so that the food pop on cookbooks, magazines, cooking commercials, or packaging or packaging television shows.
There are certain situations in which the visual appearance of food and food arrangements are more vital than how it tastes. This plays a crucial role in various situations, especially in food photography styling.
What are the factors to be considered when food styling and photography?
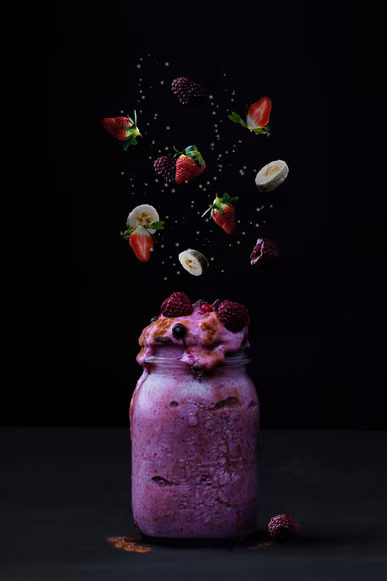
Several factors determine good food photography for food styling.
Here are the top 3 food photography styling tips for people who are new to this concept:
1. Know your camera like your best friend
2. Know the light source
3. The mood of the shot
If you desire to click a good food photograph, consider several factors.
1. Learn as much as you can about your camera
This is the more technical aspect of photography styling and thus can easily be mastered. If you are a beginner and love to replenish your knowledge by reading numerous books and tutorials to develop into a self-taught photographer, then continue to read. There is always room for improvement while you go through our articles.
You can find everything you need online. Just keep on searching, reading and learning. Read your camera manual thoroughly. Shoot in manual mode if you are not prepared; as you have heard, “Practice makes a man perfect,” you will get the hang of it soon.
2. Having an acute knowledge of light
Start developing a concept on the dependable relationship between light and your subject. Play around and experiment to find the best light source you can in the place you shoot. Many people prefer that their particular shoot be done under natural light. Often this may require taking away some light which can easily be achieved with scrim, sheets, or net fabric. To give a lovely 3-dimensional feel to your image, you may consider the amount of shadow you desire in your shot.
Artificial light can be set up in such a way so that it mimics natural light, hence procuring us an achievement of excellent outcomes. Usually, artificial lights are more convenient. Suppose you are not able to shoot during the day. It is highly recommended not to use a built-in flash (unless your filter it or deflect it).
3. The mood of the shot
While food photography styling, construct a descriptive work chart on your overall style and mood that you want to create and work towards composing a great post. Ask yourself if you wish to keep it casual or formal? Do you want it to be dark or light? The deciding factors to present your fresh and delicious plate of food are the seasons and the natural or artificial lighting source. So let us demonstrate that if it’s winter and you are shooting a small bowl of thick, comforting soup, you may favor setting the bowl to look warm and comfortable. If it’s summer and you are shooting fresh fruits and ice cream, you may want the food styling to be done so that it conveys a soothing and refreshing tone.
What are the techniques in food photography?
Create A Consistent Portfolio
The power of a portfolio is immense. The most famous photographer put heavy emphasis on it. – and boy, is that true. It is extremely important to have a considerate portfolio to land gigs, and it’s vital to know that your portfolio should be able to speak for who you represent to be. “If you show your unique character – and every single person is unique – in that space, people will look for sure pay much more attention,” ~ said Gabriela Klafk
Learn to master the Balance of Depth of Field and Shutter Speed
Try to learn and acquire this skill because, in another journey of food photography styling, it will allow you to capture a combination of different moments with very different styles. “Learn the dance and let that be your guide to telling stories through sharpness, focus, and of course, exposure,” said Leen Al Zaben
Shoot Tethered for Better Photos
Many professional photographers don’t like the idea of tethering as they feel like the cord is repressing them. However, shooting tethered can be a game-changer for shooting food photos where fake ice cubes, cold water, cheese, parchment paper, and other props are used for photography styling.
Use lines and layers for the best compositions
Innovatively use your props to form lines. It is highly suggested that use layers to create three-dimensional compositions. You may shoot from the side by positioning your camera low over the table, and you should add various props staggered in front of and behind your subject.
Use Negative SpaceWhile taking a shot, do not rush in and zoom through; give the viewer some room to breathe, and let there be some negative space in the picture. It’s soothing to the eyes and mind and creates good food photography.
Minimize clutter
We want to convey that if any extra prop, for example, a spoon, fork or busy background, doesn’t add to the picture, it’s better to remove them. While taking pictures, focus on the main subject and composition of the dish, but don’t zoom in so close that viewers can’t tell what the food is.
Knowing How to Frame Your Shot
Use a tripod as it helps to set up a better scene and knows accurately how to frame a shot from any angle.
Decide on Your Angle Before You Begin Styling
Sometimes, we set up our studio and the food arrangements perfectly just to be stopped by the wrong angle. Hence, use a dummy and decide on an angle BEFORE you start styling.
Think Layers & Texture
Adding texture can scale your food pictures to another level. Try to aim for about 3 layers of consistency in your photos, like a napkin, cutlery, herbs, spices or ingredients, chocolate etc.
Use Stand in Food
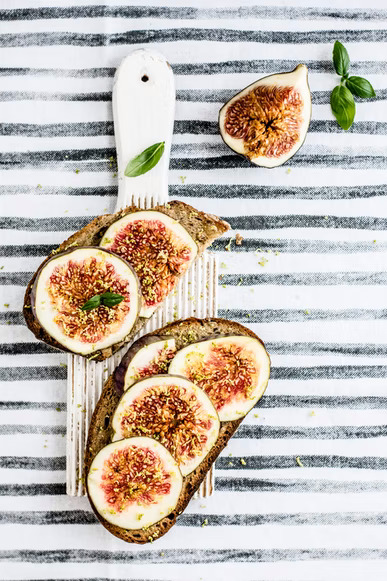
Set upon a stand-in, get the lighting and composition right, mark the plate, throw the stand-in food away, replate with the hero food, put it in the blocks, take the blocks away, and shoot as quickly as possible.
Study Images and Recreate Using the Resources You Have
We mean by the study of the food photo to keep a depth notice of its camera angle, exposure, texture, light, background (if needed, change it to white background), etc. Then try to retouch them by editing them on photo editing software.
Use a Tripod for Razor-Sharp Images
Tripods are great to use when you want a crisp, sharp photo. Nobody wants to have a blurred, dull photo.
To get those razor-sharp crystal clear photos, you are highly suggested to buy a tripod controlled by a remote. You’ll see a massive difference in how your tripods help you get those perfect sharp snaps which can be very attractive to the viewer’s eyes. So, a tripod is a vital necessity, not just while shooting in low light conditions but even otherwise.
White Balance for Brighter Cleaner Whites
A very effective and prominent way to achieve your whites seem brighter and clearer is to use Lightroom, where all you need to do is make the tone of your food photo way cooler.
If you feel it’s cooling down your food photography too much, you can take the saturation up a few notches. Also, try to increase exposure, sharpen as much as possible, increase the contrast, and make the shadows and black more dramatic.
Invest in a Good Prime Lens
A good prime lens is the first key factor to retaining a stunning food styling photography; it will make a world of difference to your food photos. You can start with a 50mm f1.8 and use this inexpensive lens exclusively for almost 2 years.
However, if you want to have a better experience with your lenses, then using a 90mm f2.8 macro lens will greatly improve your food photos. The longer focal length compresses the background and creates a really beautiful look that grabs your customers’ attention.
Practice makes a man perfect!
Try to visualize the shot, be innovative while photographing your dishes and desserts, pay attention to the details and light, convey a story through your pictures of food recipes, and be creative with your blog posts- try to depict some baking adventures. You will notice that most popular posts of food bloggers or articles have shared pictures of a person trying to eat a cupcake in a very creative manner. Try to take inspiration from all these, as they are a must in food photography and probably won’t finish here. Practice, practice and practice!
Make the Photo Yours in Some Way
Make sure you give a touch of your essence in the photo that you are shooting in your way. Please give it a look and style that reflects oneself, your ideologies and your perspective on everyday life.
Use A White Sheet in the Window
Using a white sheet in the window makes your work much smoother as the light is always amazing.
Look at Your Shadows
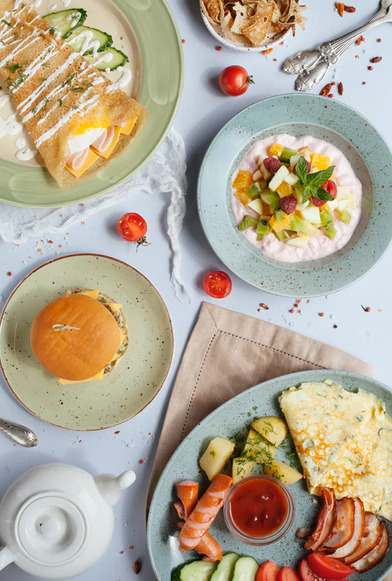
Please pay attention to your shadows and play with them to achieve different tones for your food styling.
Artificial Light Can Be Your Best Friend
If you have the budget to splurge on a photo studio for studio lighting or your shoot takes place during a different times schedule, artificial light aids to your best benefit.
Letting the food sit around for too long
Some dishes need to be moved fast, and you need to do everything quickly once they’re ready.
Ice cream, for example, will start to melt after some time, while meat can look a bit crisp after sitting around for some time. Make sure you are ready with your setup before the food arrives so you can enthusiastically start your food photography.
Use the Golden Hour to Shoot
When it comes to food photography, the most crucial element to consider is the light source. The light can bring an extraordinary effect and add an intricate touch to your picture. It is always preferred and advised to shoot under natural light in the morning.
Improve the Composition With a Focal Subject
When you have a minimalist photography food style, it is best advised to try to use only a single item as your main subject.
Of course, you can include props that have different sizes and textures so that they can bring a magnitude to your food photo. But in general, having a single focus makes your work of art much more coherent.
That was all about the different food styling ideas. However, food styling cannot be limited to certain techniques or compositions; it is all about the ability to think creatively.
Therefore, explore more about food styling by trying your hands on it.
For more food styling tips or food photography tips, visit the blog section of our official website.
