The aroma of your favorite dish, the sight of some unknown tasty-looking food, is something most people will never forget. Food Photography can be termed as one of the most challenging types of photography.
While doing food photography, you become a chef, food stylist, and food photographer 😉.
Whether you’re photographing an after-party from the perfect cocktail or a farm’s fresh roasted chicken recipe, you are sharing stories.
What is Food Photography, and How is it done?
No one is a born professional food photographer; it takes practice and experience to achieve higher success. Willingness to learn in the initial stage is a sign that you will stand strong in the future. You have that courage, and that is why you are reading this.
As a food photographer, you need to make sure that the person going through your food photograph should not resist tasting the dish in the photograph. The taste of the food should be delivered to the viewer’s mind through your photograph. A food photographer can make a tasty dish look tastier.
Deliciousness should spill out of your food photograph.
The art of food photography is much more than clicking a snap of your dinner plate and posting it on Facebook and Instagram. It requires much more skills, techniques, lights and most importantly, patience. Food makes a fantastic still-life subject irrespective of the camera you are using, whether a smartphone or a professional model. With such a simple yet appealing subject and decent lighting and composition, you can certainly achieve amazing results.
If you are a newbie and you like the topic and want to discuss more, please feel free to reach us via our email, call or visit our website for some more exciting and detailed articles on Food Photography.
A camera, a reflector, a light, and a tripod may be plenty for a short restaurant photo session. However, many camera bodies, lenses, lighting, and tripods are necessary for a major commercial food photography session.
Let us discuss some basic things required and the exciting tips to achieve great food photography.
Food Photography basic tips:-
Prepare the food
It takes a lot of planning to pull off a great shoot. Unless you’re photographing something that will melt or look awful, like a cupcake, you’ll need to plan and prepare your frame ahead of time. Set up your camera before shooting, place your tripod stand where the best light is available, and gather your objects. Make the scenario appear more genuine and less contrived. When shooting, you can utilize different props and backdrops for different food items, such as paper towels with glasses.
Surround your hero with the side artists- props
Surround your main dish with food-related ingredients and decorations. Ingredients, sauces, oils, and culinary tools may reveal the method of preparation.
Tins, jars, herbs, glasses, textiles, and linens can all convey information about the dish’s origins or the season in which it is served. Using a handful of these in the foreground and background will help to raise and deepen your story.
Purchasing or renting photography props or backdrops adds a new dimension to the photos and brings out the colors in the dish. The props must complement the cuisine items you wish to highlight.
Prepare the lights
Photography is a sport. All that matters in photography is lighting. A food shot can win people’s hearts with the right lighting, resulting in a jaw-dropping moment. The lighting patterns that must be used by the subject of the meal you are depicting are red, green, white, and black.
Use a tripod
The use of a tripod or any other form of stand stability significantly impacts the final result. A more stable camera focuses the lens’ focus away from the shot and toward the subject’s details.
Choose the correct lens.
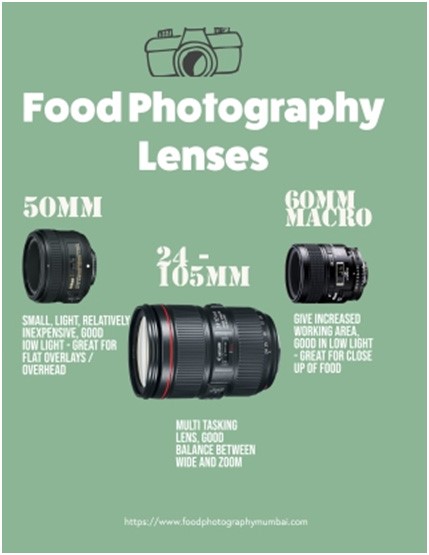
The type of lens used in photography is crucial because it dictates the scale of images and the amount of bokeh that will be included.
Work on the aperture
To ensure that everything is in focus while photographing a table-scape, use a larger aperture. If there is a lack of light, you can also use natural light to achieve this.
Be faster
While doing Food Photography, you need to be faster. Chefs are always speedy, so they can arrange whatever you require within a few minutes. So, it would help if you were speedy to catch up with them. Moreover, if you are shooting in a restaurant during visiting hours, it would not be easy to keep the place, chef and staff engaged for a longer time.
You cannot leave the food for a longer time. If you are shooting a hot item, you need to shoot with the smoke & also applicable for cold drinks and ice-creams.
Play with shadows
The dish is artistically appealing because the shadow hides some of it. Because a flat photograph with the same lighting is less appealing, the use of shadow in food photography is critical. One of the most important principles in food photography is a shadow in the light and light in the dark, so remember to experiment with shadows and lights to ensure a vibrant graphical appearance.
Use Natural Light

Natural light can sometimes fall on your background or objects, making them brilliant or even brighter than your subject.
Because the viewer will always glance at the brightest point in your shot first, it can detract from the overall tale if it isn’t your subject. You can utilize your black cards to keep light away from regions that will compete with your subject. This is also a crucial approach for creating photographs with a deeper, low-key feel.
Clear the clutter
Anything odd in your setup, remove it. You do not want the viewer’s attraction to be drawn towards anything other than the food.
Do not mess up with the background or setup.
It is suggested to keep the background plain and simple. Ideally, some solid color would do good. Keeping the background simple would fix the viewer’s attention to the food and would not cause distraction.
At times keeping some extra food or some supporting elements in the background also produces great food photographs.
Choose your angle
Wide-angle: Even though not every photographer suggests using a wide-angle lens, experimenting sometimes yield surprising but pleasing results. A wide-angle lens can help ensure that you don’t miss any of the photograph’s supporting pieces.
The shooting angle, 15 degree
A fifteen-degree shooting angle is quite effective. With a slight perspective angle, the entire arrangement of the food on the plate becomes evident. This is “the angle” from which most food images are taken, and it is ideal for photographing cold drinks, coffee, or any other beverage.
The shooting angle, 25 – 30 degree
This viewpoint shows the horizon of the food’s background, which tells a tale to the viewer. The food is presented on an open plate is the optimum perspective because the food and thickness are seen. This is a crucial element in food photography.
The shooting angle, 45 degrees, tilt forward.
This angle is quite close to the food that has been placed on the serving table and is waiting for you to devour it. When shooting soups or one-pot dishes, this perspective works best.
The shooting angle, straight on.
This angle is quite close to the food that has been placed on the serving table and is ready for you to eat. This viewpoint is ideal for photographing soups or one-pot recipes.
The shooting angle 90 degree
Because the depth of field may be removed, this viewpoint makes it easy to compose a composition. In such images, proper lighting is crucial, and avoiding shadows can be difficult.
Maintain cleanliness while doing food photography
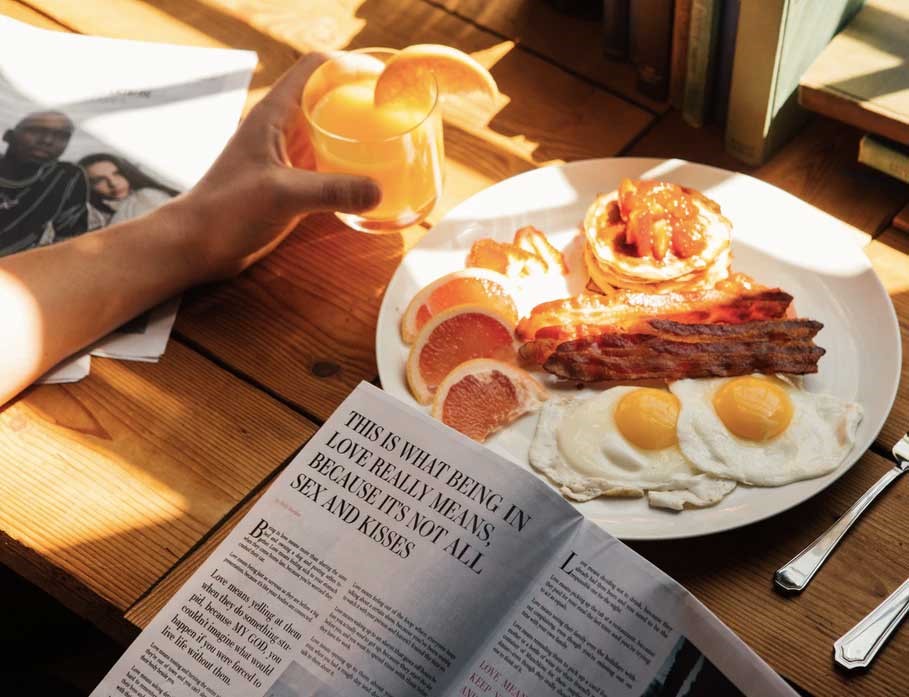
Incorporate life
Food photographs are more lifelike when they include hands or any other sense of life. Include some hands or movements in your food photo if you don’t want it to look overly staged.
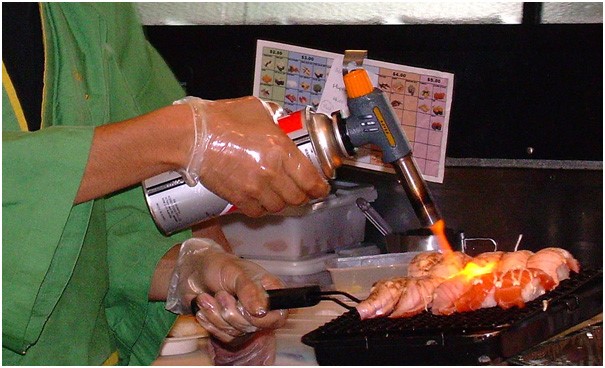
Steam it up
Another important component of food photography is steam. Who doesn’t enjoy the sight of steam rising off a hot dish? In terms of photography, it’s a bit of a challenge to keep the dishes hot throughout the session, so we devised a few strategies.
Do not over-edit
Over editing, the food Photographs would make the food look fake, and the authenticity of the food would be lost. Provide it that much, which is demanded.
Do not be afraid of experimenting.
This essentially means that you must play with lighting settings, use variants such as overhead views, and possibly experiment with food selection (using coloured food items, for example). As a result, the picture’s impression will be enhanced.
Battery and Memory back up
You can never run out of storage in between the shoot. This will create a high negative impact on yourself, and it would be difficult to transfer the files to your laptop and then again shoot. This will create an unwanted mess, take more time than expected and may end up ruining your day.
Keep the raw file
Keep the raw file so that you experiment with editing.
Now that we have gone through a pretty good number of tips, along with some dos and don’ts, so let us now check some of the food photography hacks which would help you overcome your difficulties and create awesome food photography.
Food Photography Hacks: –
Using Aroma Agarbatti
As we discussed in the tips section, it is sometimes difficult to keep the dishes running hot throughout the shoot.
So photographers often use aroma sticks or better known as agarbatti, to get the smoky effect.
Moreover, damp cotton balls cooked in microwave ovens are sometimes used. They are placed in the food and covered in food particles, and they produce steam for a long time.
Using mattifying Spray
Sometimes utensils or glass materials look too shiny in the photograph. So the use of mattifying Spray would eliminate the glossy effect and produce a matte shine.
Using Ascorbic Acid
A spoonful of ascorbic acid combined with one cup of water is another technique to keep fruits and vegetables fresh. Before washing off, leave this combination on your product for around 15 minutes. This will keep your food selection looking fresh for the duration of the photoshoot.
Using Fan brush
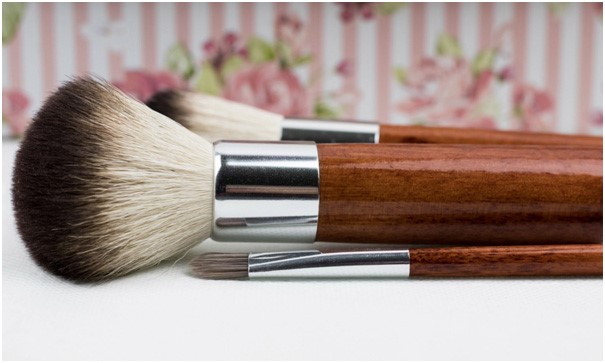
The strong bristles are ideal for brushing away any crumbs leftover from cooking or baking before photographing anything delicious – even if it’s right close to food!
Using Fake Ice
The natural ice melts fast, so instead, you can use fake ice cubes while photographing the drinks or mocktails.
Using eyeliner or black or brown colour
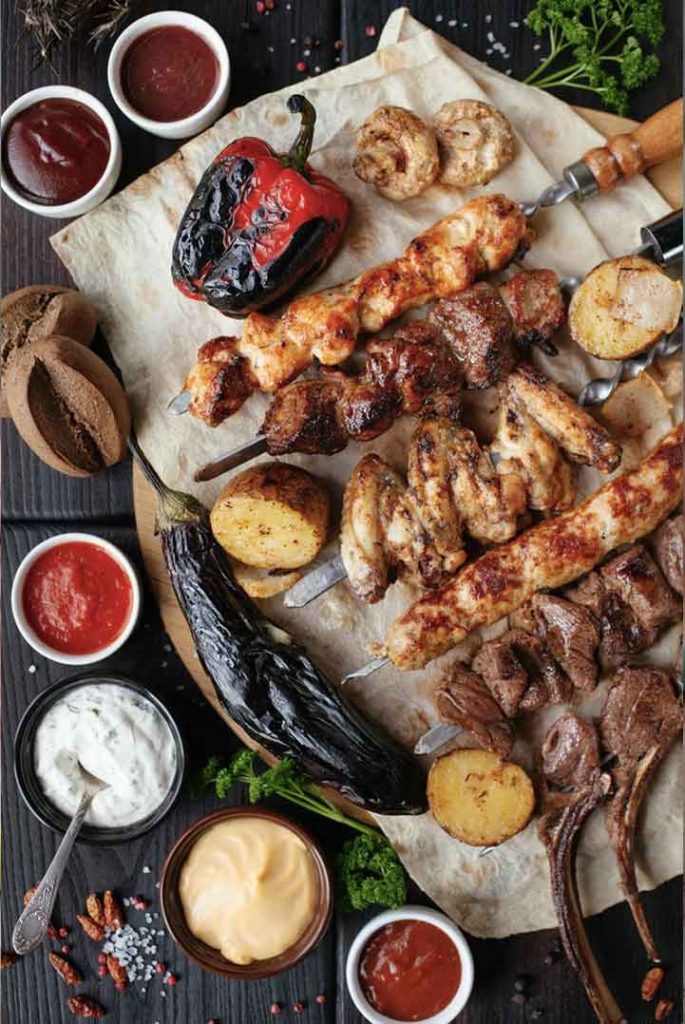
The roasted chicken or any food looks even better when they have that grill marks. They look delicious and mouth-watering. So, if your food is a little less cooked for photography or does not have much of that desired black or brown stain, take eyeliner and start the makeup 😉.
Using cardboard
You may have noticed that delightful hamburger stuffed with cheese, meat, tomato, and lettuce. However, it appears to be a lot thinner when purchased. The secret to the fat hamburger is the layers of cardboard sandwiched between the components to give it a hefty appearance. https://www.youtube.com/watch?v=MflT0I7ZPCs
Using foam or shaving cream
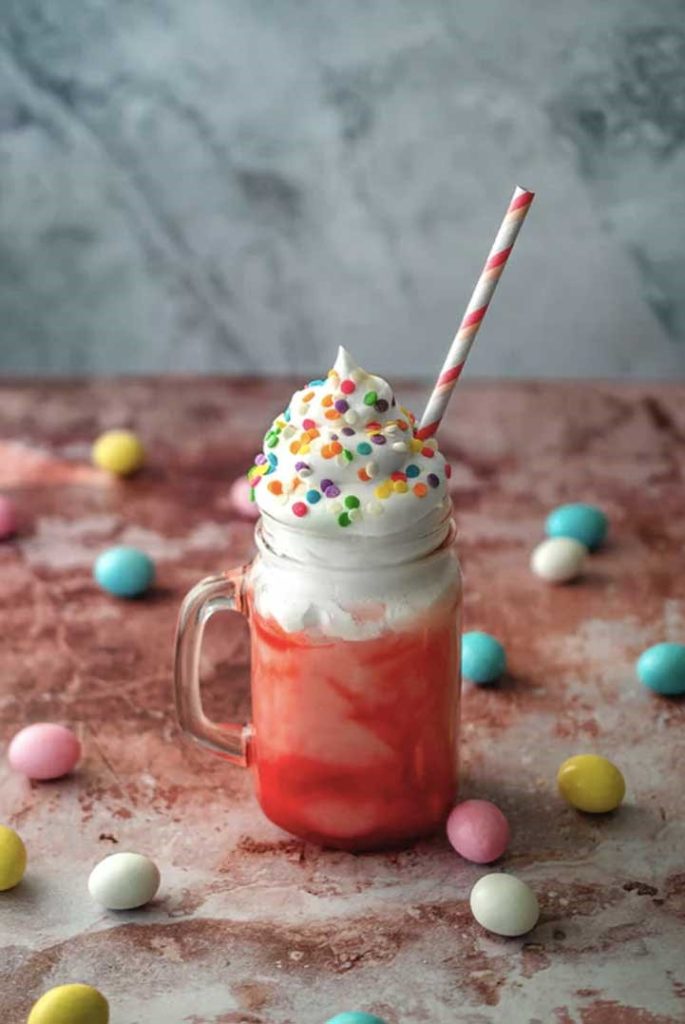
Whipping cream melts quickly at room temperature, which is a well-known phenomenon. As a result, using whipped cream to top smoothies, pancakes, and other desserts in food photography is a bad idea. Alternatively, shaving foam can be used. No one is wiser than you since you are not going to consume it.
Hopefully, these ideas will help you get that perfect shot.
Do check out our blog on
See you!! Until next blog 😊